How to Paint a Concrete Driveway

How to Paint a Concrete Driveway
A Step-by-Step Guide
Painting your concrete driveway can significantly enhance its appearance, adding curb appeal and value to your property. Whether you want to refresh the existing colour or completely transform its look, painting your driveway is an excellent option. In this comprehensive guide, we will take you through the step-by-step process of painting a concrete driveway, ensuring professional-looking results that will withstand the test of time.
Materials and Tools:
Before diving into the painting process, it's crucial to gather all the necessary materials and tools. Here's a list of what you'll need:
- Concrete cleaner
- Pressure washer
- Stiff-bristle broom
- Patching compound
- Concrete etcher
- Safety goggles
- Rubber gloves
- Epoxy-based concrete paint or stain
- Paint roller and extension handle
- Paintbrush
- Paint tray
- Concrete sealer
- Painters tape
- Drop cloths or plastic sheeting
Step 1: Preparing the Driveway
- Clear the driveway: Remove any objects, vehicles, or debris from the driveway surface.
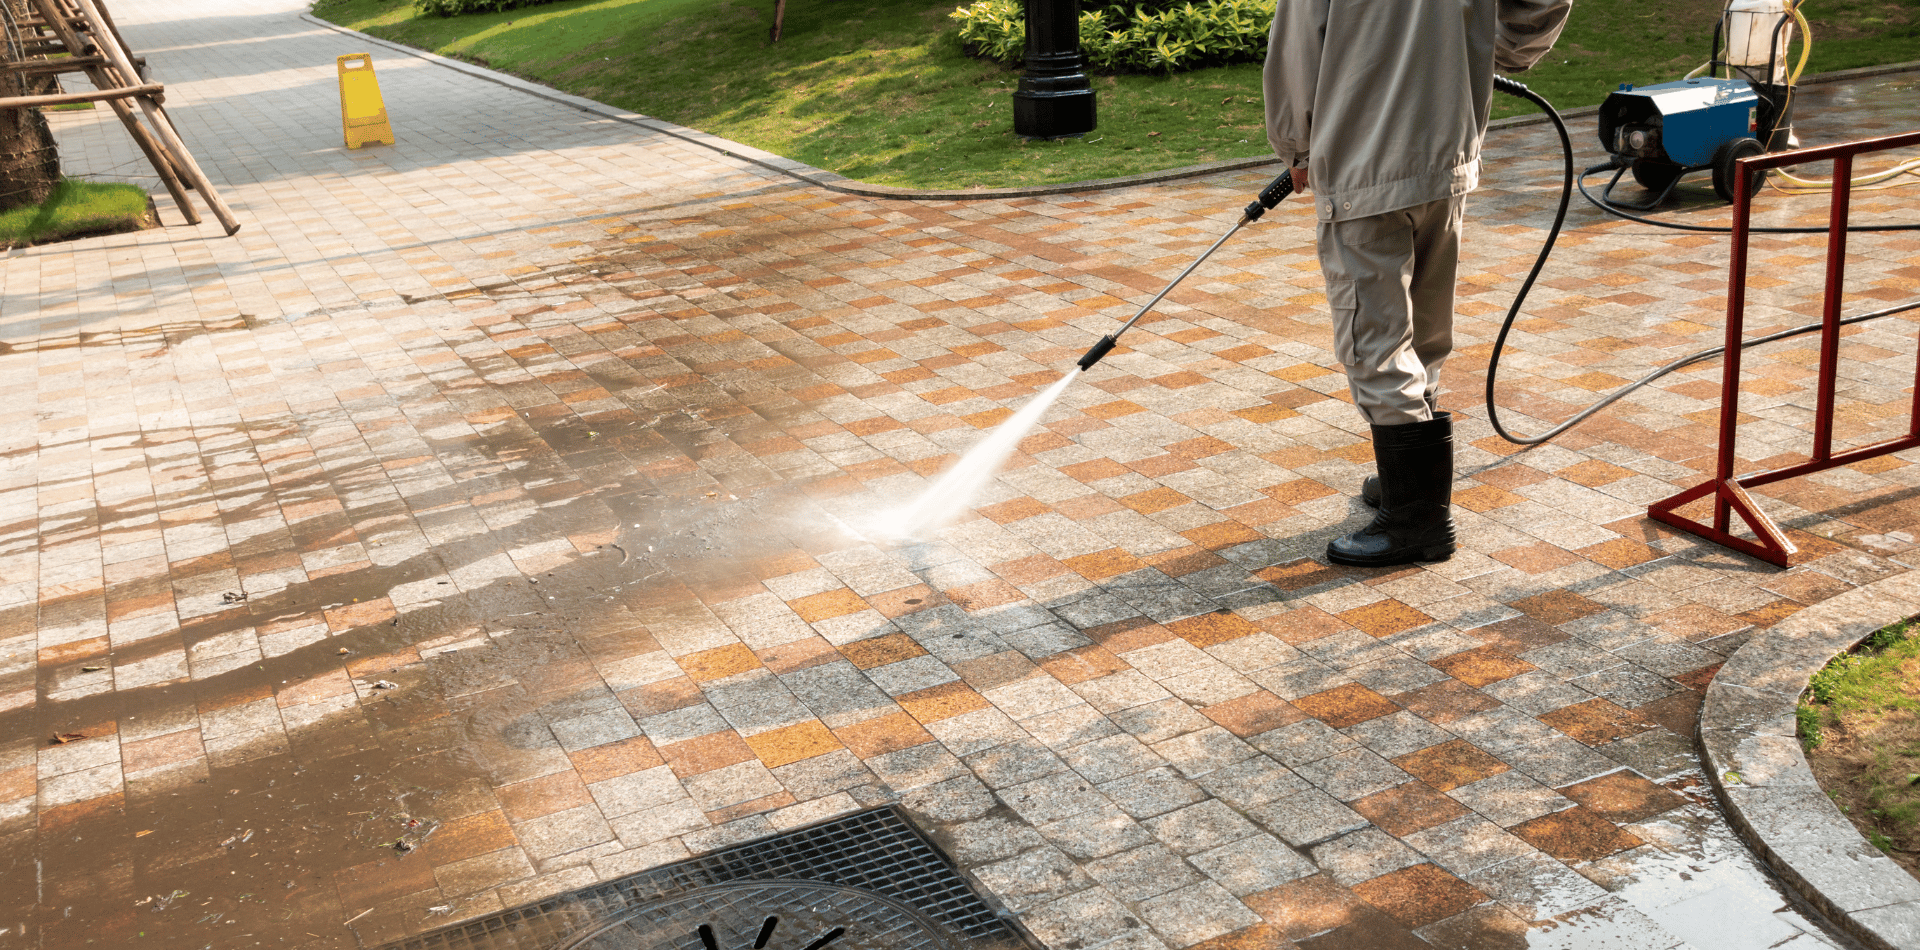
- Clean the surface: Use a concrete cleaner to remove dirt, oil, grease, and other stains. Scrub stubborn stains with a stiff-bristle broom.
- Pressure wash the driveway: Rinse the driveway thoroughly with a pressure washer to remove any remaining dirt and cleaning solution. Allow the surface to dry completely.
- Patch any cracks: Apply a suitable patching compound to fill any cracks or potholes on the driveway. Smooth the compound using a putty knife and allow it to dry as per the manufacturer's instructions.
Step 2: Etching the Concrete
- Protect yourself: Put on safety goggles and rubber gloves before handling any chemicals.
- Apply concrete etcher: Follow the instructions on the concrete etcher packaging and apply it to the driveway surface. Use a sprayer or a watering can to evenly distribute the etcher. Allow the etcher to sit on the concrete for the recommended amount of time.
- Rinse the driveway: Thoroughly rinse the driveway with water using a pressure washer to neutralize and remove the etching solution. Allow the surface to dry completely before proceeding.
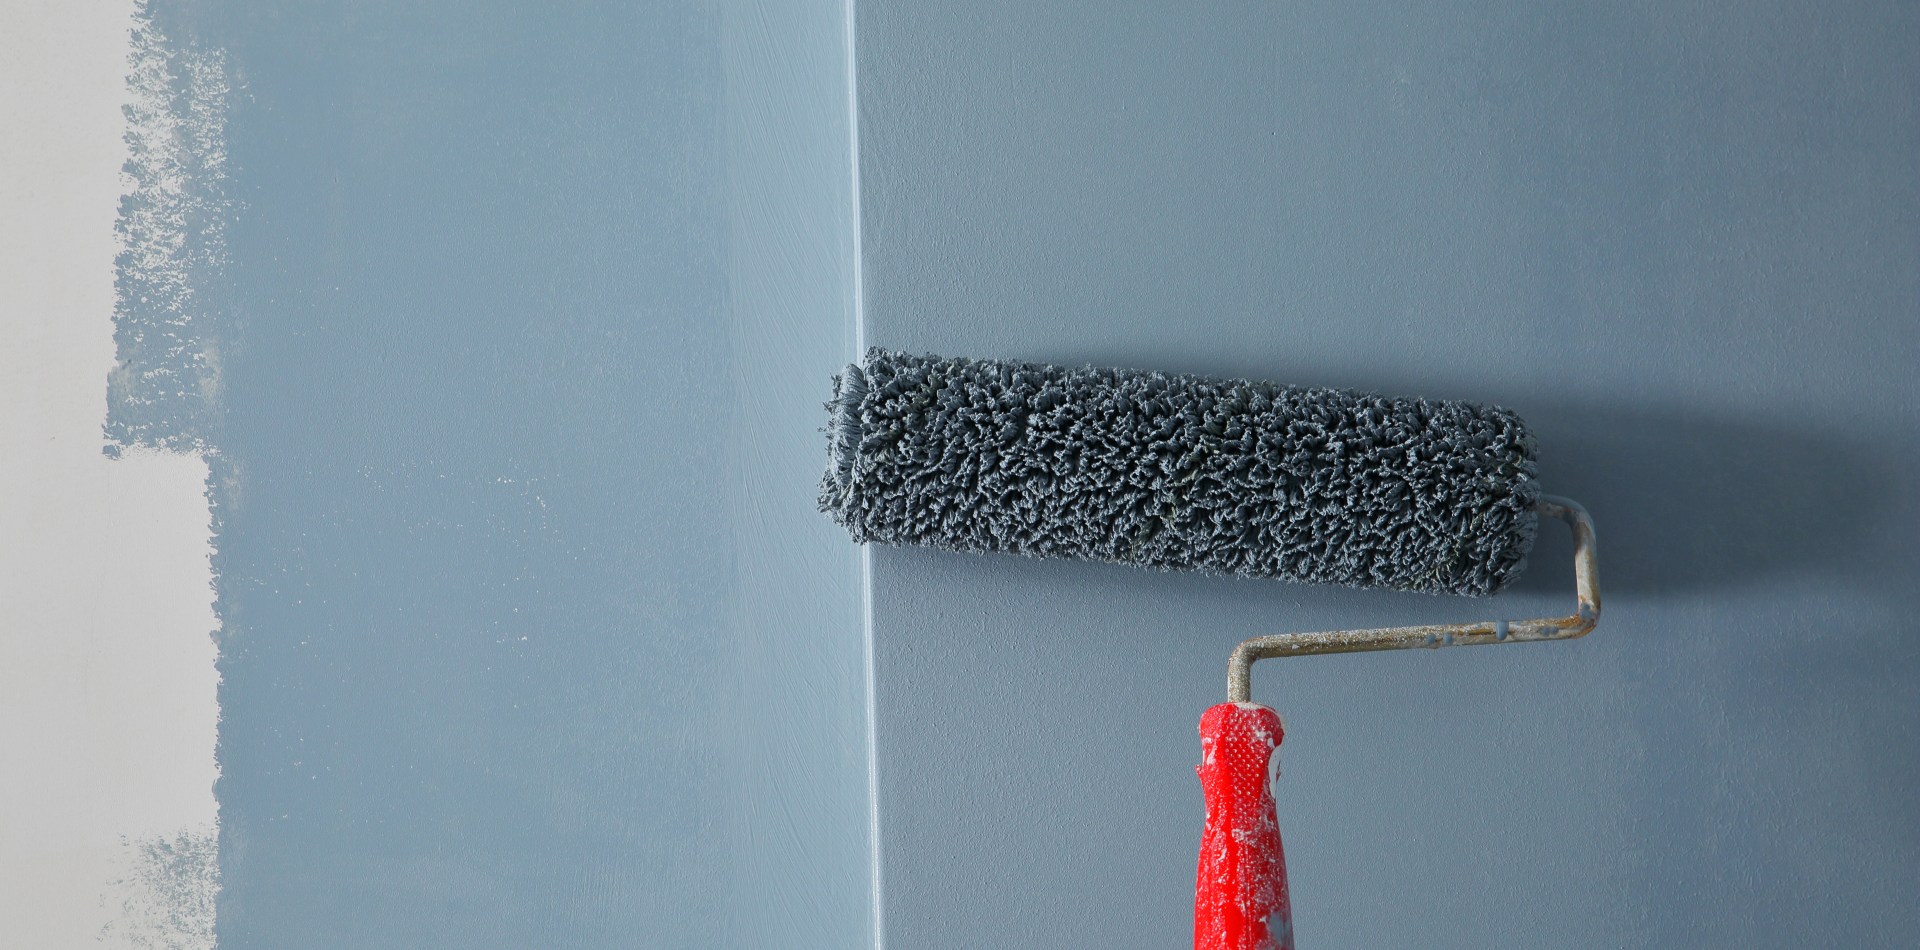
Step 3: Applying the Paint
- Select the paint or stain: Choose an epoxy-based concrete paint or stain suitable for outdoor use. Consider factors like climate, durability, and colour options when making your selection.
- Tape and protect: Use painter's tape to tape off any areas adjacent to the driveway, such as garage doors, footpaths, or landscaping. Cover nearby plants, walls, and other surfaces with drop cloths or plastic sheeting to protect them from accidental paint splatters.
- Mix the paint: If required, mix the paint or stain according to the manufacturer's instructions. Stir it thoroughly to ensure consistency.
- Start painting: Begin by cutting in the edges of the driveway using a paintbrush. Apply a thin coat of paint along the edges, ensuring clean lines. Then, use a paint roller with an extension handle to apply paint to the main driveway surface. Work in small sections, applying the paint evenly and avoiding overlapping strokes.
- Allow drying time: Follow the recommended drying time mentioned on the paint container. Typically, it takes several hours to a day for the first coat to dry. Apply additional coats as needed, following the same process.
Step 4: Sealing the Driveway
- Choose a concrete sealer: Select a high-quality concrete sealer suitable for the type of paint or stain used. Make sure it is specifically designed for driveways and provides the desired level of protection.
- Apply the sealer: Use a paint roller or a sprayer to evenly apply the concrete sealer over the painted driveway. Follow the manufacturer's instructions regarding the number of coats and drying time between applications.
- Allow curing time: Give the sealer sufficient time to cure before subjecting the driveway to heavy traffic or parking vehicles. The curing time can vary depending on the sealer, but it typically ranges from 24 to 72 hours.
Painting a concrete driveway is an effective way to revitalize its appearance and protect it from the elements. By following the step-by-step guide outlined above, you can achieve professional-looking results that will enhance the curb appeal of your property. Remember to prioritise safety, proper surface preparation, and selecting high-quality materials to ensure a long-lasting and visually appealing finish.
With a freshly painted driveway, you'll be able to enjoy a stunning and welcoming entrance to your home.