Simple Tips to Make Your Next Painting Project a Breeze

Make Your Next Painting Project a Breeze with these Simple Tips

Painting can be a fun and rewarding experience, whether you're sprucing up a room or giving new life to old furniture.
However, without the right approach, it can quickly become a daunting task.
Here are some straightforward tips to ensure that your next painting project goes smoothly, with professional-looking results.
1.Plan Ahead
Successful painting projects start long before the paint can is opened.
Effective planning not only saves time but also ensures that the finished project meets your expectations.
Here’s how to meticulously plan your painting project:
Choosing Colour and Finish
Selecting the right colour and finish is essential as it sets the tone and mood for your space.
When choosing a colour, consider the room’s lighting, size, and how it’s used. Colours can dramatically affect perceptions of space and light: lighter colours make a room feel larger and airier, while darker colours create a cosier atmosphere.
Test your chosen colour by purchasing samples and painting small sections on different walls to see how lighting affects the colour at different times of the day.
For finishes, options typically include matte, eggshell, satin, semi-gloss, and gloss. Each has its advantages, depending on the use of the room. For instance, glossier finishes are easier to clean and are ideal for high-traffic areas or rooms exposed to moisture, such as kitchens and bathrooms.
Estimating Paint Quantity
Calculating how much paint you will need is a practical step to avoid unnecessary trips to the store or excess leftover paint. The general rule is that four litres of paint covers about 40 square metres. Measure your room or the surface area to be painted and plan accordingly.
Always buy a little more than you think you need to account for multiple coats and potential touch-ups.
Timing Your Project
The timing of your project can significantly influence the ease of application and the quality of the finish. If you’re painting outdoors, weather conditions play a pivotal role. Paint reacts differently under various temperatures and humidity levels. For example, high humidity can slow down drying times and affect how the paint sets. Conversely, very hot days can cause the paint to dry too quickly, potentially leading to cracks or uneven textures.
For indoor projects, consider the availability of natural light and whether certain rooms might be needed for use during the project. Plan your project around your schedule and availability to ensure it does not disrupt your daily life.
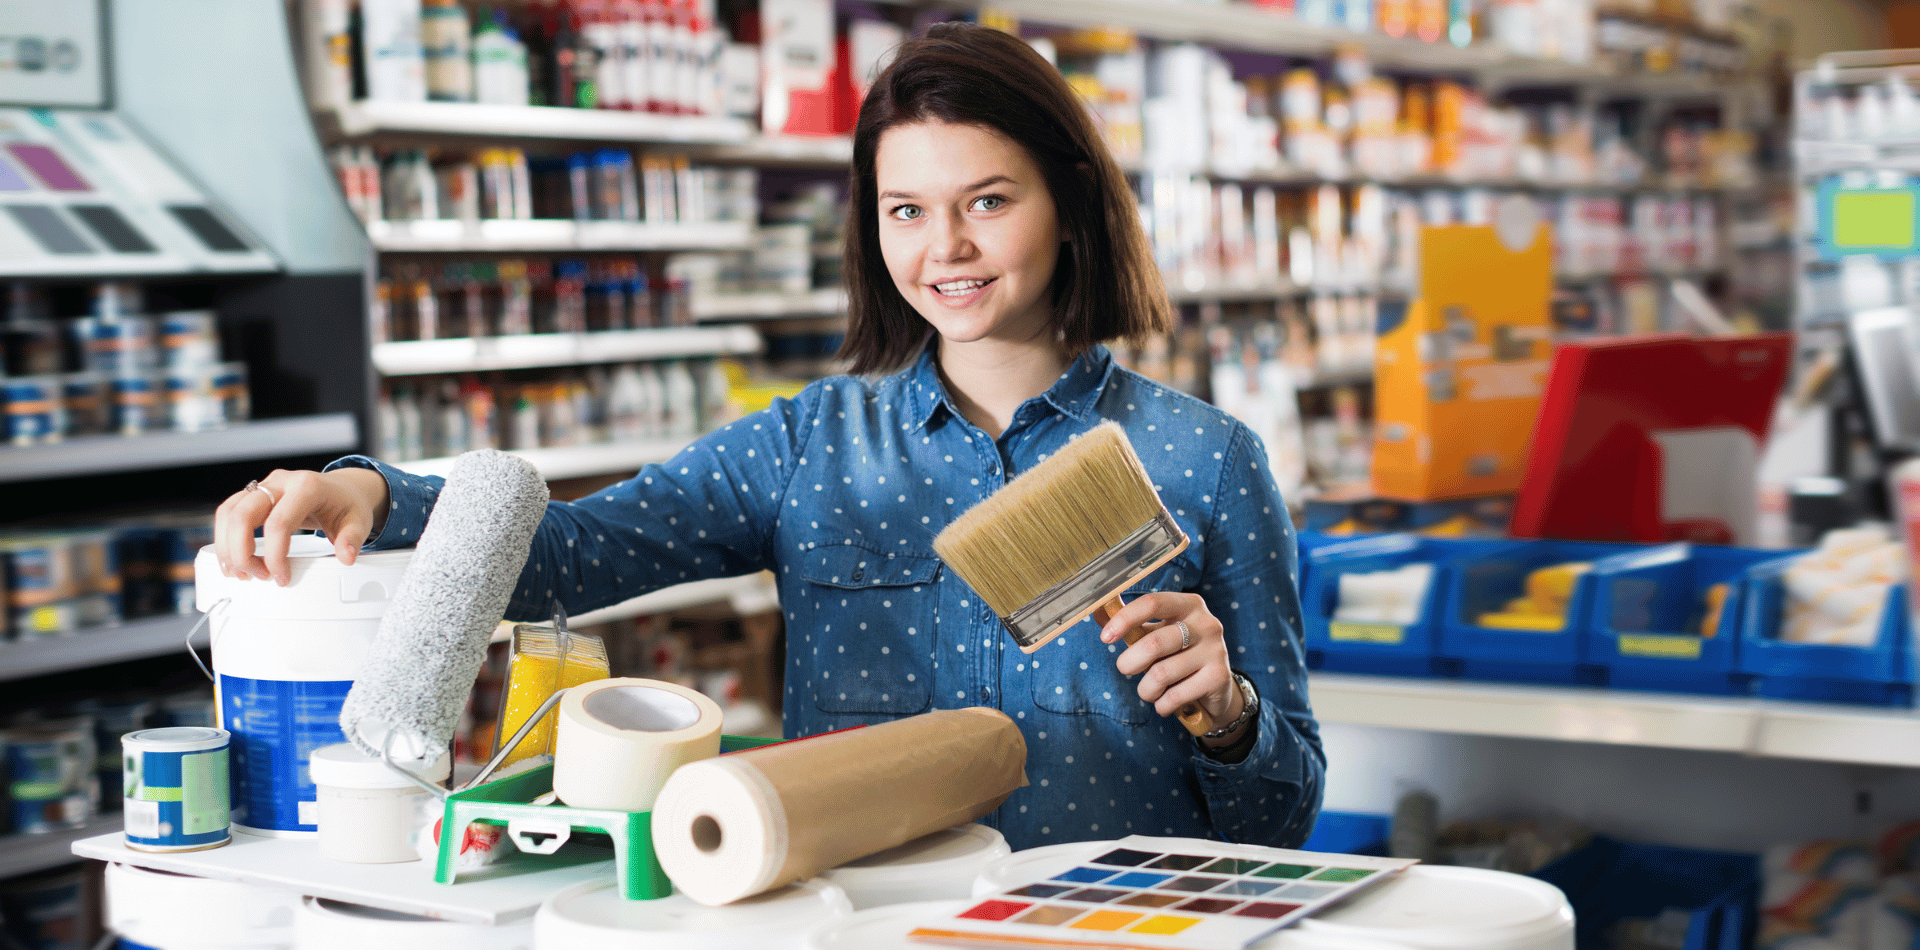
Purchasing Supplies
In addition to paint, make sure you have all the necessary supplies before starting. This includes primers, brushes, rollers, painter’s tape, drop cloths, and other tools like sanders and putty knives. High-quality tools can significantly affect the application process and the final appearance of your paint job.
Reviewing Techniques and Approaches
Before beginning your project, review painting techniques or consult guides or videos if you are unsure. Understanding how to properly load a brush or roller, how to cut in around edges, and the best practices for achieving smooth surfaces can prevent frustration and result in a more professional-looking finish.
Planning ahead in painting is much like setting the foundation for any other project: it dictates the workflow, outcome, and satisfaction once the work is complete.
By thoroughly preparing, you ensure that the painting process is not only smoother but also more enjoyable.
2.Choose Quality Tools
The choice of tools can greatly influence the efficiency of your painting project and the quality of the end result. Investing in the right tools not only enhances your painting experience but also ensures a more professional finish.
Here’s some important things to consider when selecting your painting tools:
Selecting the Right Brushes
The type of brush you need depends largely on the kind of paint you are using as well as the precision required for your project.
- Natural Bristle Brushes: These are made from animal hair and are best suited for oil-based paints. Natural bristles are known for their ability to hold and spread paint smoothly, which can be particularly useful when aiming for a fine finish on trim and woodwork.
- Synthetic Brushes: Made from nylon, polyester, or a combination of both, synthetic brushes are ideal for water-based (latex) paints. They don’t absorb water like natural bristles, which means they maintain their shape and stiffness, providing a smoother application without the risk of brush marks.
Brushes come in various shapes and sizes:
- Flat brushes are typically used for filling in broad areas.
- Angled brushes work well for cutting in corners and edges or for detailed work around fixtures.
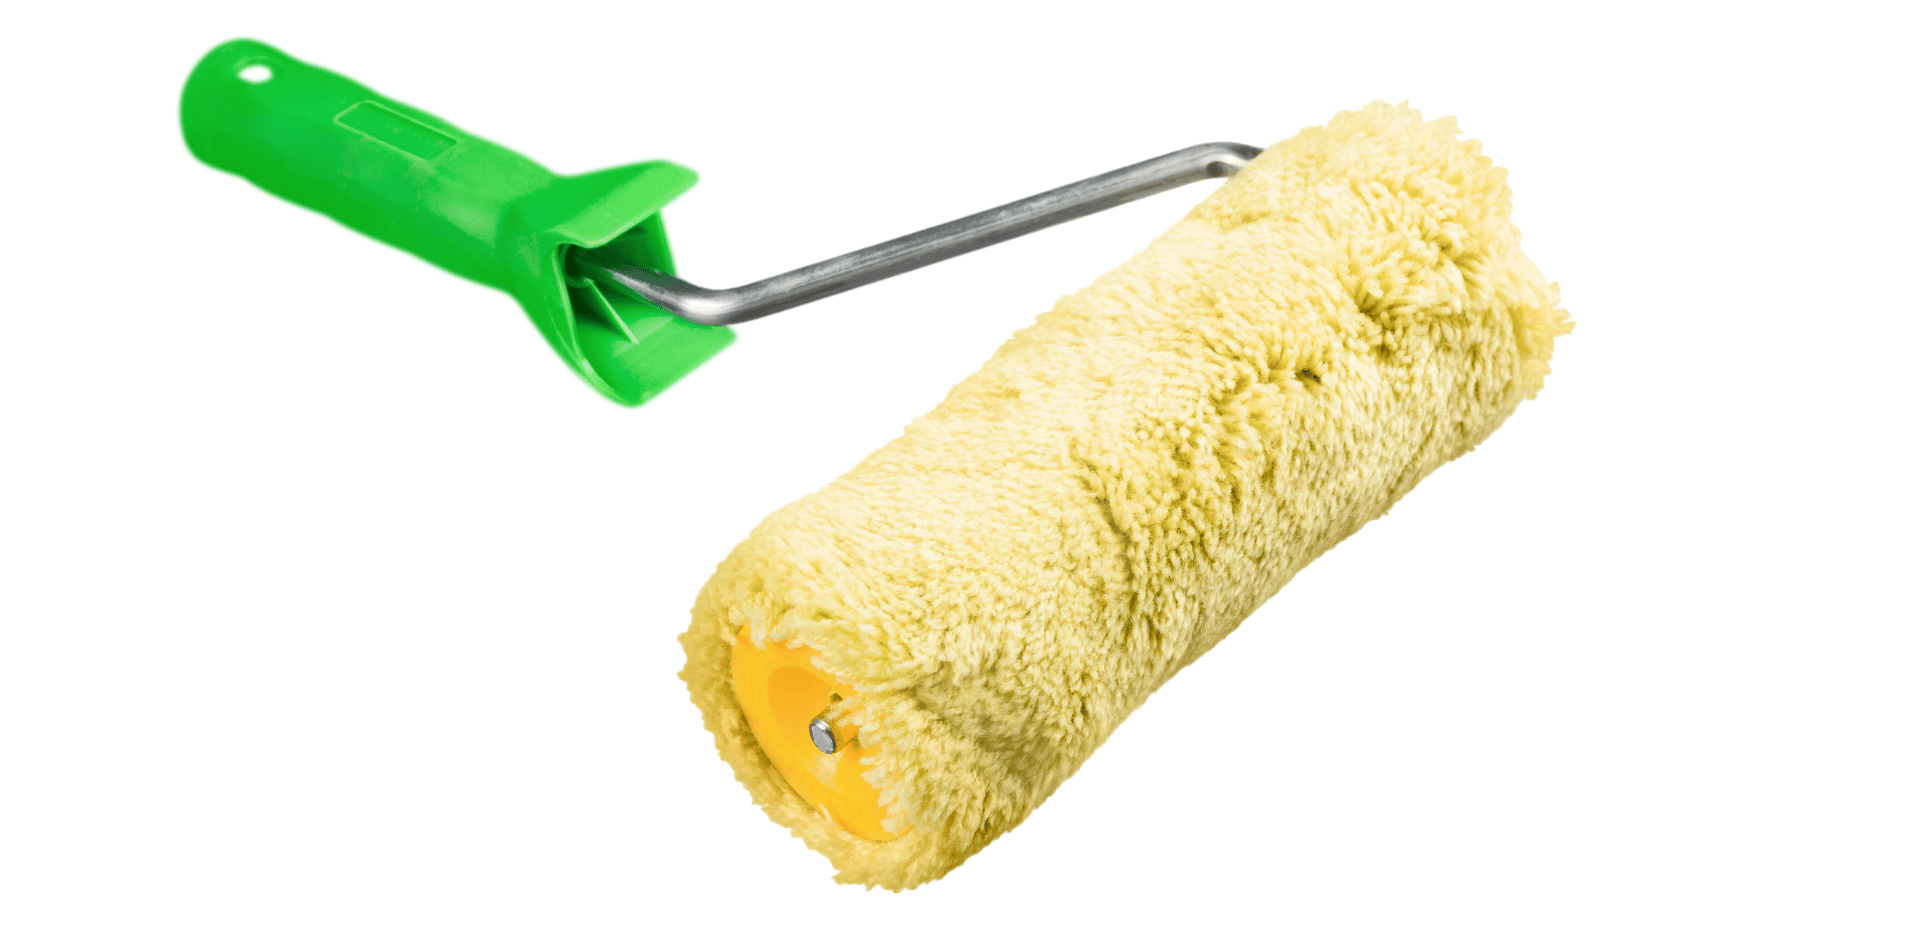
Choosing Rollers
Rollers are invaluable for painting large, flat surfaces like walls and ceilings quickly and evenly.
The key to selecting a roller is to focus on the nap, which is the fabric on the roller:
- Short-Nap Rollers (1/2 cm to 1 cm) are perfect for smooth surfaces such as new walls, plaster, and finished wood.
- Medium-Nap Rollers (1 cm to 2 cm) are best for slightly textured surfaces like light stucco or plaster.
- Long-Nap Rollers (2 cm and above) are designed for rough surfaces such as heavily textured walls or exterior brick.
Essential Accessories
Beyond brushes and rollers, several other tools and accessories are important for a smooth painting process:
- Painter’s Tape: This is essential for protecting trim and edges to ensure clean, sharp lines between different colours or between the ceiling and walls.
- Drop Sheets: These are critical for protecting your floors and furniture from paint spills and splatters. Canvas drop sheets are reusable and offer better protection compared to plastic sheets, which can be slippery and less durable.
- Extension Poles: Attaching these to your roller handle can make it easier to reach high walls and ceilings without constantly moving a ladder.
- Ladder: A sturdy ladder is crucial for safely reaching high areas. Ensure it is stable and rated for the kind of use you anticipate.
- Paint Trays and Bucket Screens: For rollers, you’ll need a paint tray with a ramp for loading the roller evenly. For larger jobs, a bucket with a screen that hooks to the side allows for easier and faster loading of rollers directly from a larger quantity of paint.
Quality does not always mean the most expensive, but it is worth investing in reputable brands known for durability and performance in painting tools. Good quality tools not only make the job easier but also help achieve a finish that looks more professional, ensuring that your effort stands the test of time.
3.Prepare the Surface
Proper surface preparation is crucial for ensuring a paint job lasts and looks its best.
This phase of the project is often underestimated but can have the greatest impact on the final outcome.
Here’s how to thoroughly prepare surfaces before painting:
Cleaning the Surface
Before any paint touches a surface, it must be clean. Dirt, grease, and dust prevent paint from adhering properly, leading to uneven coverage and potentially causing peeling and chipping later on.
- Walls: Wash walls with a solution of water and mild detergent, and for kitchen areas or places exposed to more dirt, consider a degreaser. Rinse the walls thoroughly with clean water to remove any soap residue.
- Exteriors: For outdoor projects, a pressure washer can effectively clean surfaces, removing dirt, mildew, and loose paint. Be cautious with the pressure settings to avoid damaging the surfaces.
- Furniture: Use a trisodium phosphate (TSP) solution or a dedicated wood cleaner to wipe down furniture, which will remove old oils and grime.
Allow the surface to dry completely before proceeding to the next step, as moisture trapped under the paint can lead to issues like blistering or mildew growth.
Sanding
Sanding is essential for creating a smooth surface and helping the paint adhere better. It removes imperfections and provides a slightly rough texture that helps the new paint bond to the surface.
- Smooth Surfaces: Use fine-grit sandpaper to lightly buff the surfaces for a more even coat.
- Rough Patches: For areas with old paint drips or rough spots, start with a coarser grit to level the imperfections and finish with a finer grit for a smooth feel.
- Glossy Finishes: Surfaces with a glossy finish should always be sanded to ensure the new paint can adhere without peeling.
Dust off all surfaces after sanding to ensure no particles interfere with the paint.
Repairing Damage
Inspect the surface for any holes, cracks, or imperfections:
- Small Holes and Cracks: Fill these with spackle or a suitable filler using a putty knife. Once the filler dries, sand the area until it’s flush with the surrounding surface.
- Larger Repairs: For bigger damages, especially in plaster, you might need a patching compound or a new piece of plaster. These repairs might require additional tools and materials, like joint tape and joint compound.
Priming
Primer is vital for achieving optimal paint adhesion, colour richness, and durability:
- Dark Colours: If you’re painting over dark-coloured walls with a lighter paint, primer can help prevent the old colour from bleeding through.
- Raw Wood and Metals: These materials often require a specific type of primer to block stains and prevent rust (for metals) or tannins (for woods) from discolouring the paint.
- Stained Areas: Use a stain-blocking primer to cover water stains or smoke damage, which can seep through regular paint.
By investing the time in these preparatory steps, you create the foundation for a paint job that not only looks professional but also lasts longer. Good preparation reduces the likelihood of needing frequent touch-ups and ensures that the final paint application is smooth and uniform.
4.Use Painter’s Tape
Painter's tape is an essential tool for achieving sharp, professional-looking edges in your painting projects.
It acts as a barrier, preventing paint from bleeding into areas you want to keep clean and ensuring straight lines where different colours meet.
Here’s how to get the most out of using painter's tape:
Choosing the Right Tape
Not all painter's tapes are created equal, and choosing the right one can make a significant difference:
- Multi-Surface Tape: This is the most versatile type and is suitable for most indoor painting jobs. It adheres well to various surfaces without leaving residue.
- Delicate Surface Tape: Use this for freshly painted or delicate surfaces where a standard tape might cause damage.
- Exterior Tape: This is designed to withstand different weather conditions and is ideal for outdoor projects.
Applying the Tape
Proper application is key to preventing paint bleed-under, which can mar the appearance of your finished project:
- Clean and Dry: Ensure that the surface where you will apply the tape is clean and completely dry. Any dust, moisture, or grease can prevent the tape from adhering correctly.
- Straight Lines: Apply the tape in short sections to maintain a straight line. Use a level or a laser level for guidance when working on large areas.
- Press Down Firmly: Once the tape is in position, press it down firmly with a putty knife or a similar tool. This helps to seal the edges and prevent paint from seeping underneath.
- Seal the Edge: For even better results, you can seal the edge of the tape with the base color or a clear sealant before painting the new color. This step locks the edge and practically eliminates any chance of paint bleed.
Timing the Removal
The timing of tape removal is crucial to achieve clean lines without damaging the paint:
- Remove When Wet: The best practice is to remove the tape while the paint is still slightly wet. This prevents the paint from forming a bond with the tape, which can lead to peeling.
- Pull at an Angle: Gently pull the tape back on itself at a 45-degree angle. This technique helps create a clean line and minimizes the risk of damaging the paint layer.
Troubleshooting Common Issues
Even with careful application, issues may arise with painter's tape:
- Bleeding Paint: If paint bleeds under the tape, touch up the edges with a small brush using the background colour.
- Tape Residue: If residue remains after removing the tape, it can typically be removed with a mild adhesive remover or by gently rubbing it off with a clean, damp cloth.
Using painter's tape effectively requires patience and precision, but the results are worth the effort. It not only enhances the aesthetics of your paint job but also protects surfaces and helps maintain clean, professional lines throughout your project

5.Apply the Right Technique
Applying paint correctly is just as important as the prep work and materials you choose.
The right technique can make a significant difference in the appearance and longevity of your paint job.
Here are detailed methods for using both brushes and rollers to achieve the best results.
Brush Technique
Using a paintbrush effectively requires a combination of the right brush, paint, and technique:
- Loading the Brush: Dip only about a third of the bristles into the paint to avoid overloading. Tap the brush against the side of the can to remove excess paint, rather than dragging the bristles across the rim, which can cause drips.
- Applying Paint: Start with your brush slightly away from the edge if you’re cutting in, then move the brush towards the line and use the narrow edge of the brush for more precise control. For broader surfaces, apply using long, even strokes. The key is to maintain a steady hand and apply consistent pressure to avoid leaving brush marks. Paint in sections small enough to maintain a "wet edge" — a technique used to blend freshly applied paint with the slightly dried paint.
- Brush Direction: Always paint in one direction. For wood surfaces, it is best to follow the grain of the wood. This not only improves adhesion but also enhances the finish, making brush strokes less noticeable.
Roller Technique
Rollers are excellent for covering large areas quickly and evenly.
They require a different technique than brushes:
- Loading the Roller: Pour paint into a roller tray and roll the applicator back and forth until it’s evenly coated. Be sure to remove excess paint by rolling it on the tray’s ridges to prevent dripping.
- Applying Paint: Start by painting an “M” shaped pattern on the wall. This method helps distribute a bulk of the paint across a large area without over-saturation. Then, fill in the pattern without lifting the roller, moving back and forth in a zigzag pattern. This approach helps maintain a consistent application and prevents the roller from skipping over the surface.
- Pressure on the Roller: Apply steady, moderate pressure when rolling. Too much pressure can squeeze paint from the roller, leading to uneven coverage and drips. Too little pressure can result in a patchy application.
Tips for Both Brushes and Rollers
- Keep a Wet Edge: This technique involves overlapping your last stroke with the next before the paint has dried completely. It helps in avoiding lap marks and ensures a smooth, uniform layer.
- Second Coats: Allow the first coat of paint to dry completely according to the manufacturer’s instructions before applying a second coat. This ensures proper adhesion and color uniformity.
Using these techniques will help ensure a smooth, professional finish, whether you’re painting an entire room, a piece of furniture, or detailed trim work. It takes practice to perfect these techniques, but the effort pays off in the quality of the finish and the durability of the paint job.
6.Keep a Wet Edge
Keeping a wet edge is a crucial painting technique, especially when working with latex or water-based paints that tend to dry relatively quickly. This method involves careful planning and execution to ensure a smooth, seamless finish without visible marks or ridges where individual strokes or rolls overlap.
Here’s how to master the technique of maintaining a wet edge during your painting projects.
Understanding the Wet Edge
A wet edge refers to the freshly applied paint that has not yet started to dry. By maintaining a wet edge, you ensure that the new paint you are applying merges with the still-wet paint. This integration helps to prevent unsightly lap marks and streaks that occur when painted areas dry out before they can be blended with adjacent sections.
Techniques for Maintaining a Wet Edge
- Work in Small Sections: Paint in smaller, manageable sections that you can complete quickly and efficiently before the paint begins to set. This might mean dividing a wall into vertical sections and completing each one before moving to the next.
- Speed and Efficiency: Keep your movements swift but careful. The quicker you work, the less chance there is for the edge to dry before you overlap it. However, this doesn't mean rushing through the job — maintain consistent technique and coverage.
- Using the Right Tools: Equip yourself with the right size and type of brush or roller to cover areas more swiftly. Larger rollers can cover bigger areas more quickly, thereby making it easier to maintain a wet edge.
- Plan Your Approach: Start from one corner and work systematically towards the other end of the wall or surface. This planned approach helps you to always be applying fresh paint next to wet paint.
- Keep Rolling or Brushing: Once you start painting, keep going. If you need to stop (for a phone call, for example), try to do so only after completing a section where you can neatly finish along an edge that will later be covered, such as where trim meets wall.
Additional Tips for Challenging Situations
- Hot and Dry Conditions: Increase your working speed, as paint dries faster in warm, dry climates. Alternatively, use paint extenders or conditioners that slow down the drying time of the paint, providing you more time to work.
- Using a Paint Tray: If using a roller, load it evenly and frequently so that you always have enough paint to maintain wet edges. Don't let the roller become too dry; a dry roller can pull at the wet paint, causing marks.
- Technique Refinement: Practice makes perfect. Refining your technique on smaller or less visible areas can help you handle larger, more prominent sections with greater confidence and skill.
Maintaining a wet edge is about combining speed, precision, and planning. By mastering this technique, you can achieve a flawless finish that looks professionally done, free of laps and brush marks, thus ensuring a more attractive and durable paint job.
7.Use Multiple Light Coats
Applying multiple light coats of paint rather than a single thick coat is a technique favoured by professional painters for achieving a more even and durable finish. This approach not only enhances the appearance of the paint job but also increases its longevity by reducing the likelihood of problems such as drips, sags, and peeling.
Here’s how to effectively use this technique for your painting projects.
Advantages of Multiple Light Coats
- Even Coverage: Light coats provide more uniform coverage. Thick coats can lead to uneven layers with areas that might look patchy once dried.
- Reduced Dripping and Sagging: Thick coats are prone to running and sagging as they dry, which can ruin the smooth finish of your surfaces. Light coats are less likely to drip and create a neater appearance.
- Faster Drying Times: Each light coat dries quicker than a thick coat would, speeding up the overall process and reducing the waiting time between applications.
- Better Adhesion: Thin coats adhere better to surfaces, which improves the paint's overall durability and resistance to wear and tear.
Technique for Applying Light Coats
- Proper Preparation: Ensure the surface is well-prepared, as outlined in earlier steps, to maximise paint adhesion and finish quality.
- Optimal Application Tools: Use high-quality brushes and rollers suited to the type of paint you are using. This ensures a smoother application and helps avoid applying too much paint at once.
- Consistent Thickness: Aim to apply paint in consistent, thin layers. Load your brush or roller with a moderate amount of paint to avoid over-saturation, and apply using even, controlled strokes or rolls.
- Technique Consistency: Maintain consistent direction with brushstrokes or roller paths. For walls, rolling in a vertical direction typically yields the best results.
Managing Drying Times
- Follow Manufacturer’s Instructions: Check the paint can for the recommended drying times. Adhering to these guidelines is crucial to ensure that each coat has sufficiently dried before applying the next.
- Environmental Factors: Be aware of the ambient temperature and humidity, as these can affect drying times. Higher humidity and cooler temperatures can slow drying, whereas warmer, drier conditions can speed it up.
- Touch Test: Before applying the next coat, do a simple touch test in a small, inconspicuous area. If the paint is no longer tacky and feels dry to the touch, it’s ready for another coat.
Repeat Application
- Number of Coats Needed: The number of light coats needed can depend on the paint quality, the colour being covered, and the final colour’s depth. Lighter colours might need more coats for full coverage, especially if painting over a darker shade.
- Final Inspection: After the final coat has dried, inspect your work under good lighting to ensure even coverage and no missed spots. It's easier to touch up thin coats if necessary.
Using multiple light coats requires patience but results in a professional, long-lasting finish. This technique allows for greater control over the project, reduces potential errors, and ultimately leaves you with a beautifully painted surface.
8.Ventilation is Key
Proper ventilation is crucial when undertaking any painting project, particularly indoors.
Adequate airflow helps to expedite drying times, reduces the buildup of toxic fumes, and can even affect the overall quality of your paint job.
Here’s how to ensure effective ventilation and why it matters.
Benefits of Good Ventilation
- Faster Drying Times: Fresh air circulating in a room helps to evaporate the solvents in paint more quickly, speeding up the drying process.
- Health and Safety: Paint fumes can be harmful if inhaled in large amounts or over a prolonged period. Proper ventilation minimizes these risks by dispersing fumes and reducing their concentration in the air.
- Improved Paint Adhesion and Appearance: Adequate ventilation helps prevent problems like blistering or peeling paint, which can occur due to poor drying conditions.
Techniques for Improving Ventilation
- Open Windows and Doors: This is the simplest way to enhance airflow in a room. If possible, open multiple windows or doors to create a cross breeze that will carry fumes away from the space.
- Use Fans: Position fans strategically to improve air circulation. A fan placed in a window blowing outward can help pull fumes out of a room. Additional fans can be used to direct the airflow, ensuring that fresh air circulates thoroughly throughout the painting area.
- Take Breaks to Air Out the Room: If you’re working in a space with limited ventilation options, take regular breaks to open the room up and let fresh air circulate more extensively.
Using Low-VOC Paints
If ventilation is a challenge, or if you're particularly sensitive to paint fumes, consider using low-VOC (Volatile Organic Compounds) or no-VOC paints:
- Healthier Indoor Air Quality: These paints contain fewer volatile organic compounds, which means they emit less gas as they dry. This can significantly improve the air quality inside your home during and after painting.
- Environmental Benefits: Low-VOC paints are better for the environment. Reducing the release of VOCs into the atmosphere contributes to lowering smog levels and reducing overall environmental pollution.
- Wide Availability and Performance: Today, low-VOC paints are readily available and offer a performance comparable to traditional paints, ensuring you do not have to compromise on quality for health and environmental benefits.
Considerations for Specific Spaces
- Bathrooms and Kitchens: These areas can be particularly challenging due to limited ventilation. Use exhaust fans in addition to opening windows to help manage moisture and fumes effectively.
- Basements and Attics: These spaces often have poor airflow. When painting these areas, additional measures, such as using air movers or exhaust systems, might be necessary to ensure adequate ventilation.
By ensuring that your painting environment is well-ventilated, you not only create a safer workspace but also contribute to the durability and appearance of your paint job. Proper ventilation practices are an integral part of professional painting projects and are straightforward to implement with a bit of planning.
9.Clean Up Properly
Proper cleanup after a painting project is essential not only for maintaining your painting tools but also for ensuring safety and minimising environmental impact. Effective cleanup extends the life of your tools and ensures that they are ready for the next use.
Here are some steps and tips for cleaning up after painting.
Cleaning Brushes and Rollers
- Water-Based Paints: Immediately after use, rinse brushes and rollers under running water to remove the majority of the paint. Then, wash them in a container of warm, soapy water, working the soap through the bristles or the roller cover to remove all traces of paint. Rinse thoroughly until the water runs clear. For rollers, a roller spinner can be used to remove excess water, speeding up the drying process.
- Oil-Based Paints: Cleaning requires a solvent such as mineral spirits or paint thinner. Pour enough solvent into a container to cover the brush bristles or immerse the roller. Work the solvent through the bristles or nap of the roller until the paint begins to come off. Change the solvent if it gets too dirty and continue until all paint is removed. Finish by washing the brush or roller in soapy water to remove any remaining solvent, and rinse well.
Drying and Storage
- Drying: After cleaning, shake out any excess water from brushes and use a brush comb to straighten bristles. Hang brushes by the handle or lay them flat on a towel to dry. Rollers should also be hung to dry to maintain their shape.
- Storage: Store brushes in their original packaging or wrap them in a paper towel to keep bristles straight. Rollers should be stored in a dry place where they won’t be crushed or deformed. Storing tools properly ensures they remain in good condition and perform well in future projects.
Handling Leftover Paint
- Sealing Cans: Before sealing paint cans, wipe the rim clean to ensure a tight seal. Use a rubber mallet to tap the lid closed securely, or place a piece of wood over the lid and press down evenly.
- Labeling: Mark the cans with the date and the room where the paint was used. This will make it easier to find the right color for touch-ups later.
- Storage: Store leftover paint in a cool, dry place away from direct sunlight and extreme temperatures. Properly stored paint can last for years and be used for touch-ups or smaller projects.
- Disposal: If disposal is necessary, never pour paint down drains or into the environment. Check with local waste management facilities for guidelines on disposing of paint and solvents. Many areas have specific protocols for hazardous waste to minimise environmental impact.
Cleaning Spills and Splatters
- Immediate Action: Clean drips and spills immediately with a damp cloth for water-based paints or a cloth dampened with solvent for oil-based paints.
- Protect Surfaces: Use drop cloths and painter's tape during the project to protect floors and furniture, making cleanup much easier.
Effective cleanup is an integral part of the painting process. Taking the time to clean and store your tools properly can prevent additional costs and hassle in the future, while proper handling and disposal of leftover materials help protect your health and the environment. By following these thorough cleanup procedures, you ensure that your painting tools and materials are preserved in optimal condition for future use.
10.Take Your Time
Rushing through a painting project can lead to mistakes, uneven coats, and a less durable finish.
Taking your time is not just a matter of patience—it’s a strategic approach to ensure top-quality results in painting.
Here’s how a measured, unhurried approach can benefit your painting process and outcome.
Benefits of a Slow and Steady Approach
- Quality Assurance: Taking your time allows you to focus on the details, ensuring even coverage and crisp lines. This careful attention helps avoid common pitfalls such as drips, streaks, or missed spots.
- Stress Reduction: Painting can be a therapeutic activity if approached without haste. This mindset not only improves the quality of work but also makes the process more enjoyable.
- Proper Drying: Adequate drying time between coats is crucial. It allows the previous layer to properly adhere and cure, which is essential for the durability and appearance of the paint job.
Implementing a Patient Approach
- Plan Ahead: Set realistic timelines for your painting project. Include time not just for painting but also for setup, cleanup, and unexpected delays. This helps manage your expectations and reduces the urge to rush.
- Follow Paint Drying Times: Refer to the manufacturer’s recommendations on the paint can for drying times. These are optimised to ensure the best performance and longevity of the paint.
- Check the Weather: If you are painting outdoors, the weather can affect drying times. Humidity and temperature variations can significantly impact how paint dries. Plan your painting project when weather conditions are favourable.
- Use the Right Tools: Having the right tools on hand can improve efficiency and effectiveness, allowing you to work more patiently and with better results. This includes quality brushes, rollers, and proper safety equipment.
- Inspect as You Go: Regularly step back and inspect your work from different angles and lighting. This can reveal drips, streaks, or uneven coverage that might not be visible up close. It also gives your latest coat time to start setting, so you can address any issues promptly without disrupting drying.
Avoiding Common Mistakes
- Do Not Remove Tape Too Early: Removing painter’s tape too soon can cause the paint to lift or peel away with the tape, ruining straight edges. Wait until the paint is dry to the touch but not fully cured for best results.
- Furniture and Fixtures: Resist the temptation to move furniture back or rehang curtains or artwork too soon. This can damage the fresh paint or add unwanted marks. Wait until the paint has completely cured, which can take several days depending on the type of paint and conditions.
- Final Touch-Ups: Allow the paint to fully cure before doing final touch-ups. This ensures that any touch-ups blend seamlessly with the rest of the wall.
Taking your time with a painting project ensures a meticulous application, leading to a more attractive and enduring finish. Patience in painting not only results in a visually appealing space but also fosters a sense of accomplishment and satisfaction in your DIY endeavours.