Prep Like a Pro: The Key to a Successful House Painting Project
Embarking on a house painting project is an exciting endeavour that promises to refresh and revitalise your living space. However, the success of your painting project hinges on more than just selecting the right paint colours. It requires thorough and meticulous preparation, which is the foundation of a flawless and long-lasting finish. Prepping like a pro involves a series of steps that ensure your surfaces are clean, smooth, and ready to receive the paint.
Let's have a look at the essential aspects of prepping for a house painting project, exploring techniques, tools, and tips that will set you on the path to achieving professional-quality results.
The Importance of Proper Preparation
Preparation might not be the most glamorous aspect of a painting project, but it's undoubtedly the most critical.
Properly prepped surfaces ensure that paint adheres well, dries evenly, and maintains its finish over time.
Here's why preparation matters:
Adhesion:
A well-prepped surface provides a clean and smooth canvas for paint to adhere to. This prevents peeling, cracking, and bubbling down the line.
Surface Appearance:
Proper preparation eliminates imperfections like bumps, dents, and rough patches, resulting in a smooth and visually appealing finish.
Durability:
Properly prepped surfaces ensure that the paint's lifespan is maximised. A solid foundation prevents premature wear and tear.
Efficiency:
Efficient preparation reduces the likelihood of mistakes, minimising the need for touch-ups and rework during and after the painting process.
Step-by-Step Prepping Guide
Pro Tips for Efficient Prepping
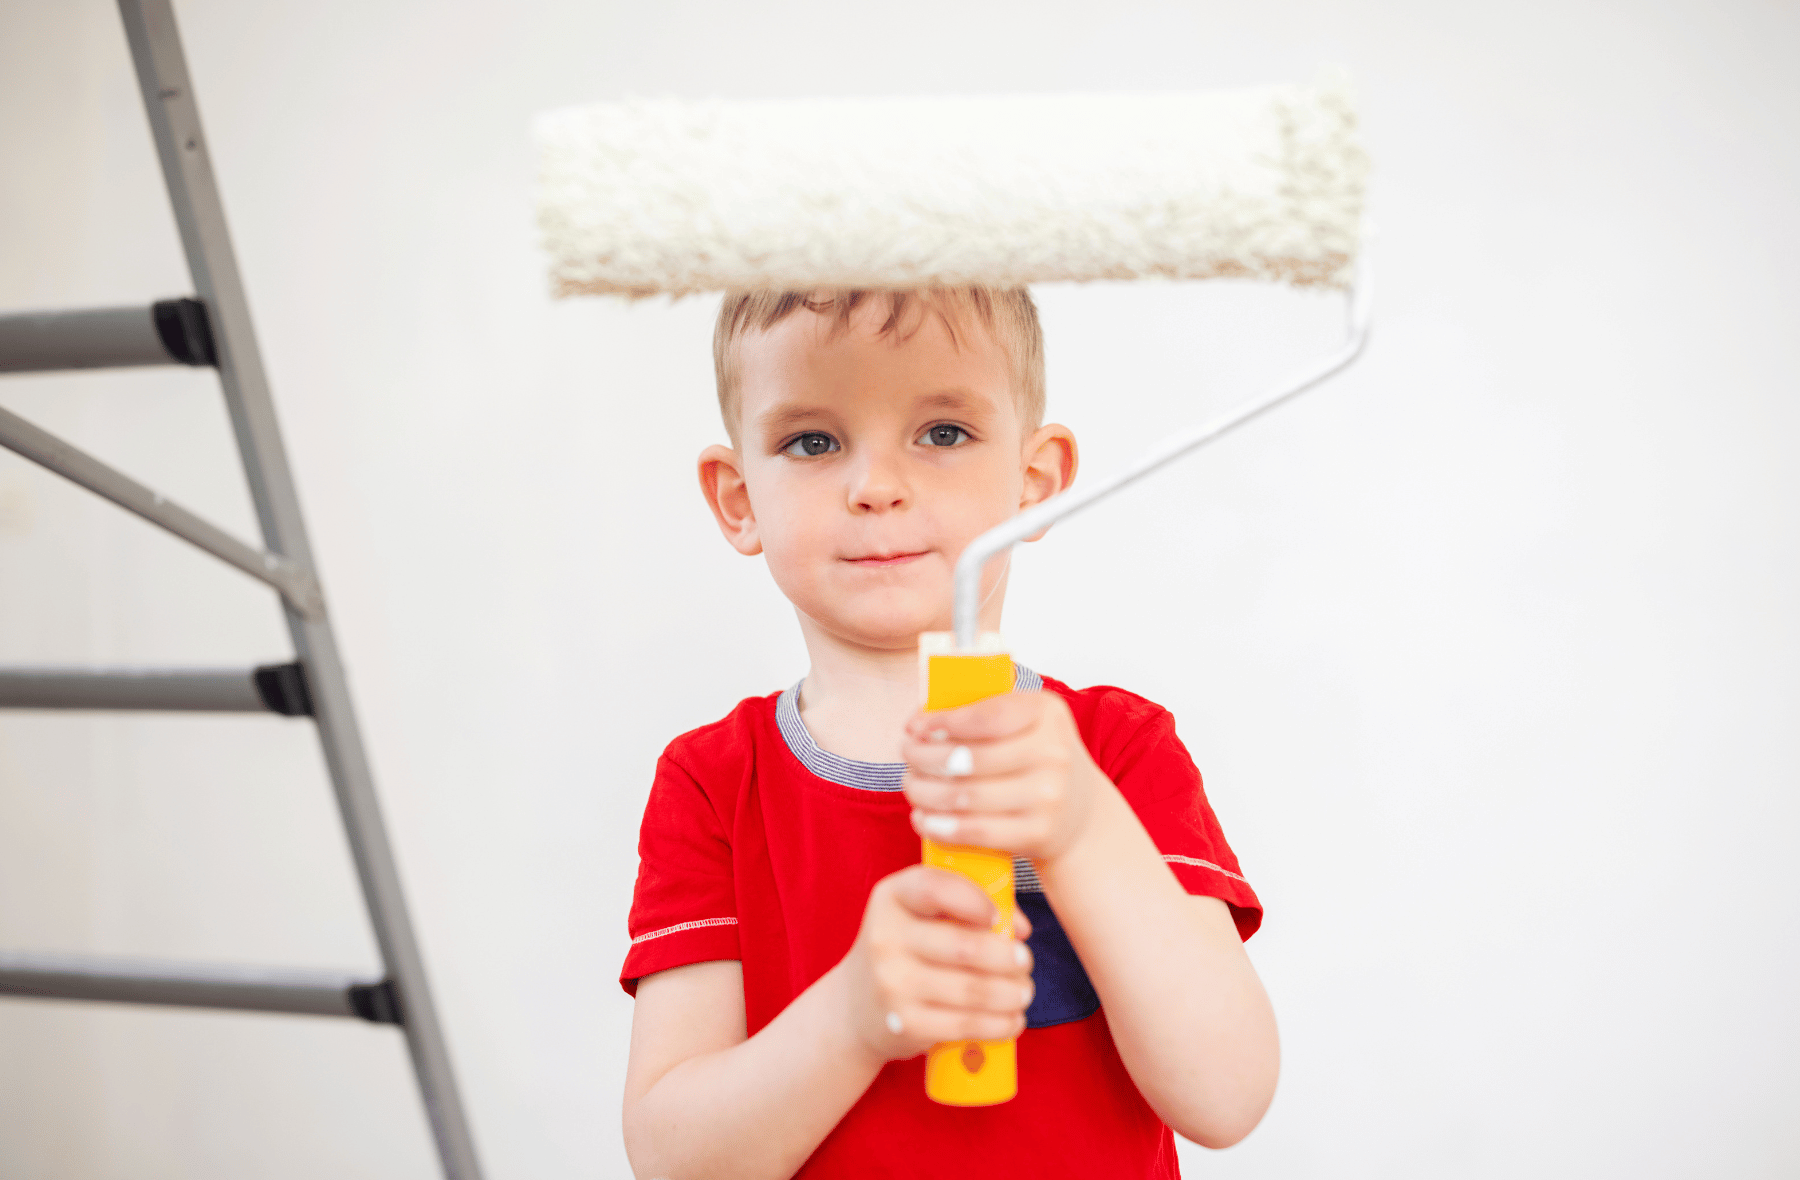
Invest in Quality Tools:
High-quality brushes, rollers, and sandpaper contribute to a smoother and more efficient prepping process.
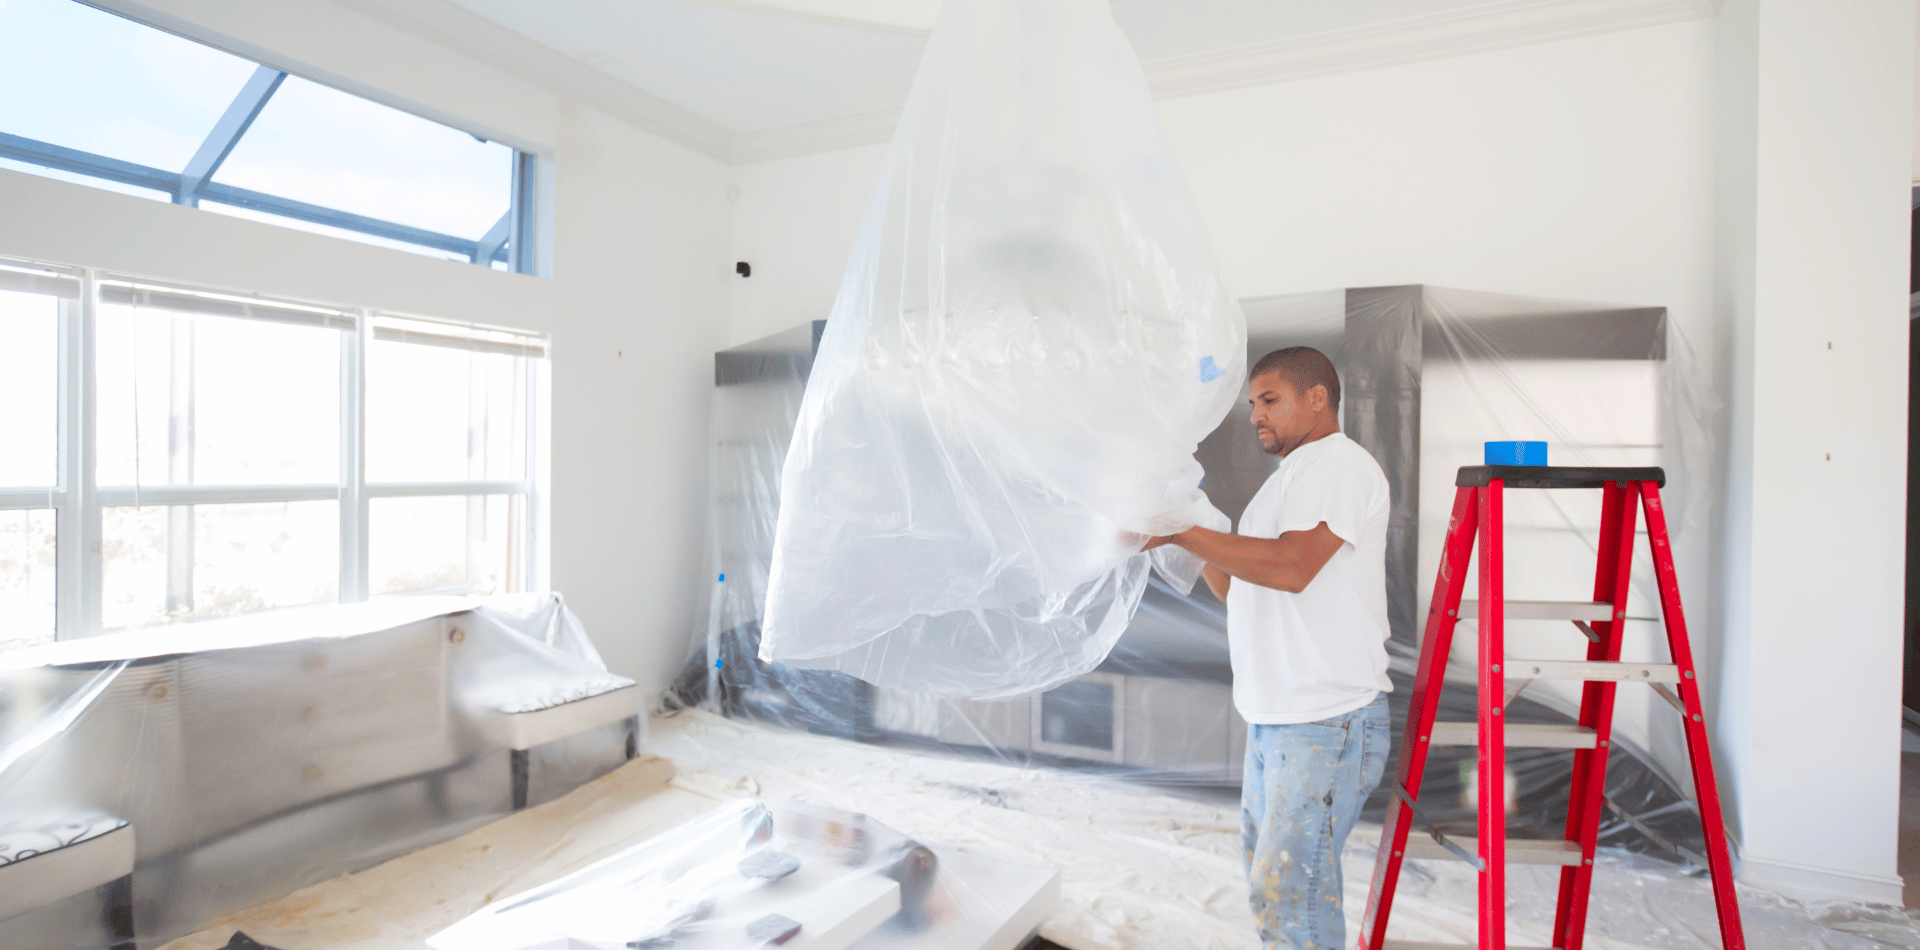
Use Drop Sheets:
Cover floors, furniture, and fixtures with drop sheets or plastic sheets to protect them from dust and paint splatters.
Work from Top to Bottom:
Start prepping at the highest point in the room (usually the ceiling) and work your way down. This prevents dust and debris from falling onto surfaces you've already prepped.
Clean as You Go:
Cleaning surfaces as you prep helps maintain a dust-free environment, ensuring that paint adheres properly.
Advanced Prepping Techniques
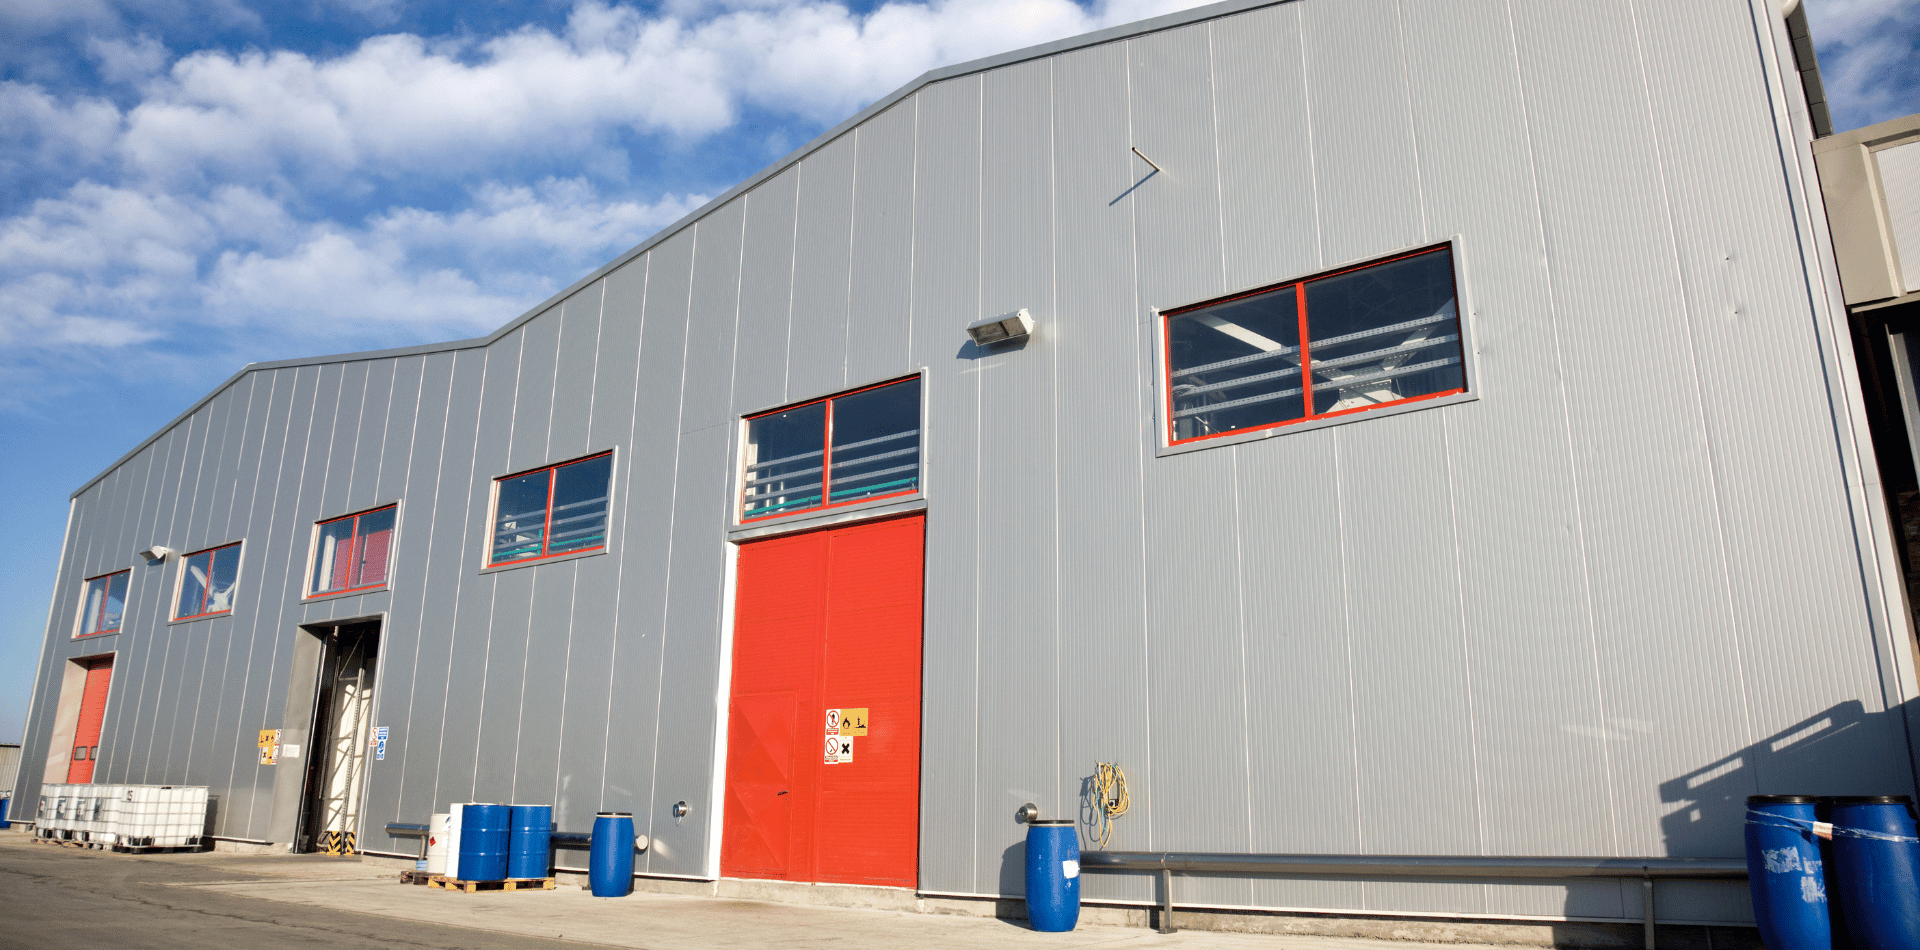
Pressure Washing:
For exterior painting projects, pressure washung, or power washing can effectively remove dirt, grime, and loose paint. However, use caution, as excessive pressure can damage surfaces.
Tack Cloth:
A tack cloth is a sticky cloth that helps remove dust and particles from surfaces before painting. It's particularly useful for achieving a pristine finish on smooth surfaces.
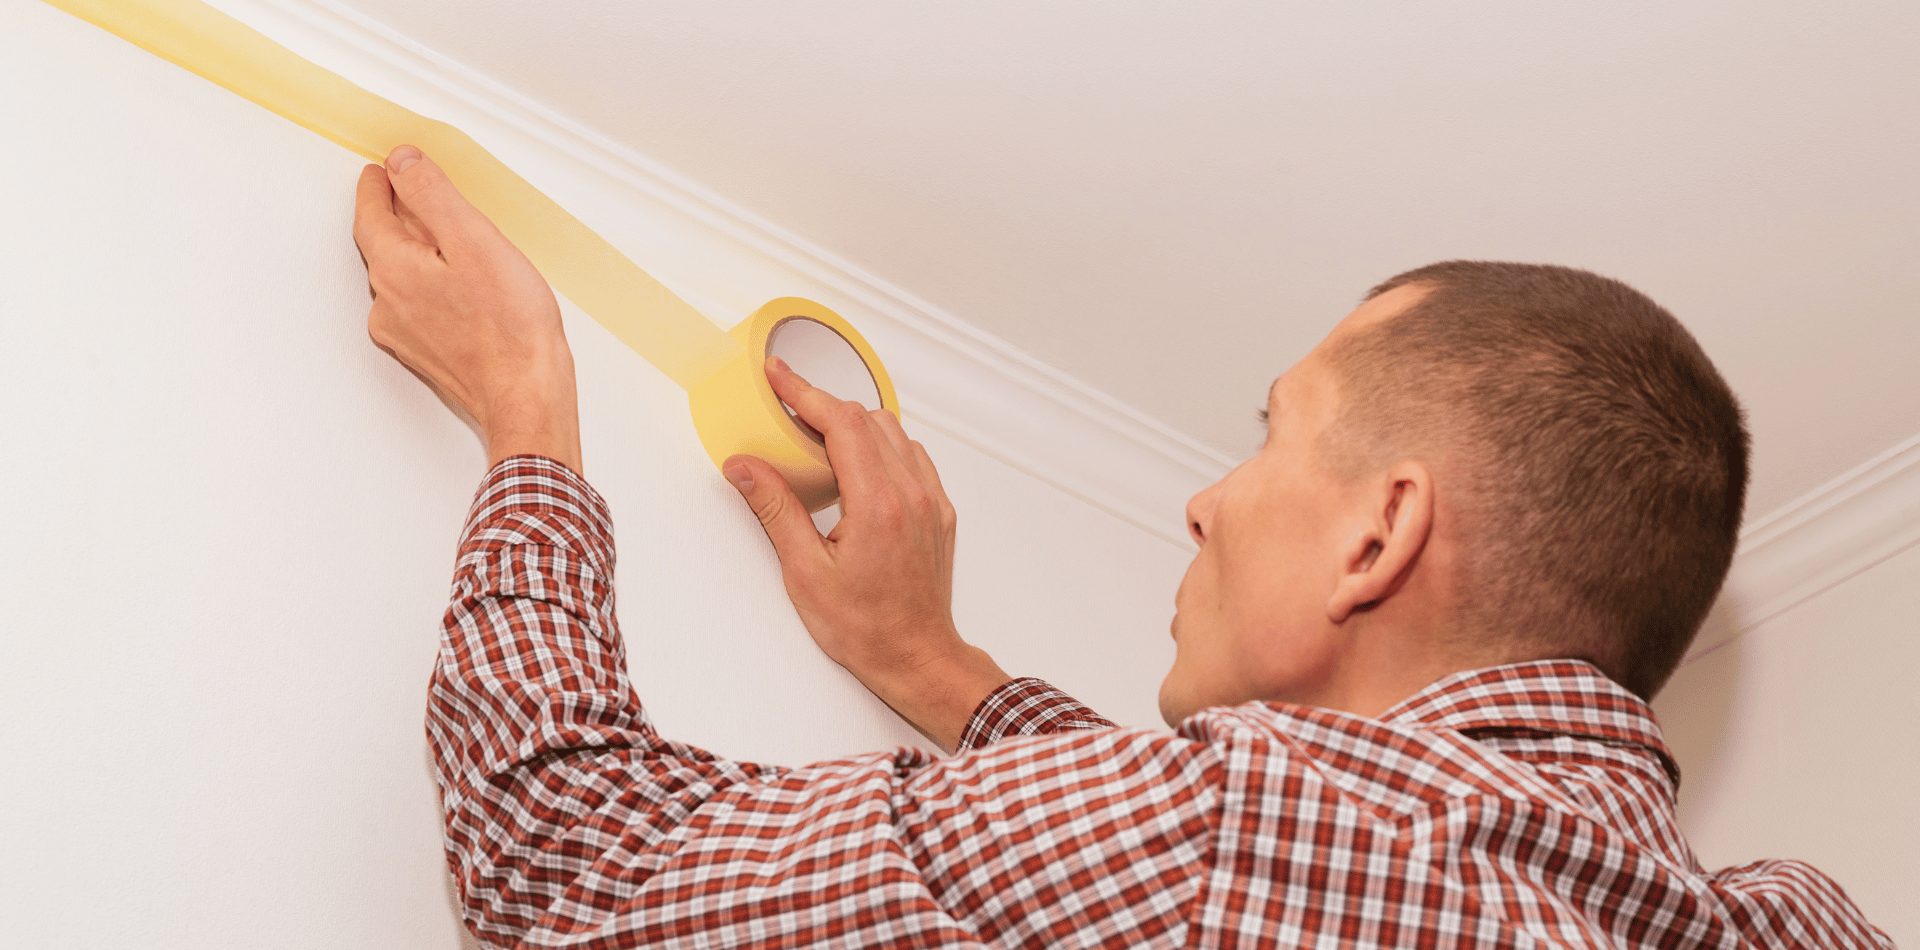
Caulking:
Caulk gaps and cracks in trim, molding, and seams to create a seamless and professional look. Caulking also prevents moisture infiltration and helps maintain airtightness.
Prepping like a pro is the unsung hero of a successful house painting project.
The time and effort invested in proper preparation are rewarded with a flawless finish that lasts. By following a meticulous step-by-step prepping guide, investing in quality tools, and considering advanced techniques when necessary, you set the stage for a painting project that exceeds your expectations.
Remember, a well-prepped surface is the canvas upon which the beauty of your chosen paint colours will shine.
So, before you pick up that paintbrush, take the time to prep like a pro, ensuring that your efforts result in a visually stunning and enduring transformation that enhances your living space for years to come.