House Painting: The Top 10 Tips and Tricks for a Professional Finish

Top 10 House Painting Tips and Tricks for a Professional Finish

Are you looking to give your home a fresh new look with a professional finish?
Look no further!
We have compiled the top 10 house painting tips and tricks that will help you achieve stunning results.
Whether you're a seasoned DIY enthusiast or a first-time painter, these techniques will ensure that your painting project is a success.
From choosing the right colours and preparing the surfaces to mastering the art of cutting in and achieving smooth brush strokes, we've got you covered.
We'll also reveal some insider tricks for achieving a flawless finish, such as using the correct primers, sanding techniques, and the right tools for the job.
With our expert advice and practical tips, you'll be able to tackle everything from small touch-ups to large room makeovers with confidence.
Get ready to impress your family and friends with your newfound painting skills!
So, grab your paintbrushes, put on your painting clothes, and let's get started on transforming your home into a work of art.
Importance of a professional finish in house painting
When it comes to house painting, a professional finish can make a world of difference.
Not only does it enhance the overall appearance of your home, but it also adds value and curb appeal.
A well-painted house reflects your attention to detail and sets the tone for the entire property.
Choosing the right paint and tools
One of the first steps in achieving a professional finish is selecting the right paint and tools for the job.
Consider the type of surface you'll be painting and choose a paint that is suitable for it.
Whether you're painting interior walls or exterior siding, there are specific paints designed for each purpose.
Investing in high-quality brushes and rollers is equally important. Look for brushes with fine bristles that allow for smooth and even application. Rollers with the right nap length will ensure an even coat of paint on larger surfaces.
Preparing the surfaces for painting
Proper surface preparation is key to achieving a professional finish.
Start by cleaning the surfaces thoroughly to remove any dirt, dust, or grease. Use a mild detergent and water solution to wash the walls and allow them to dry completely.
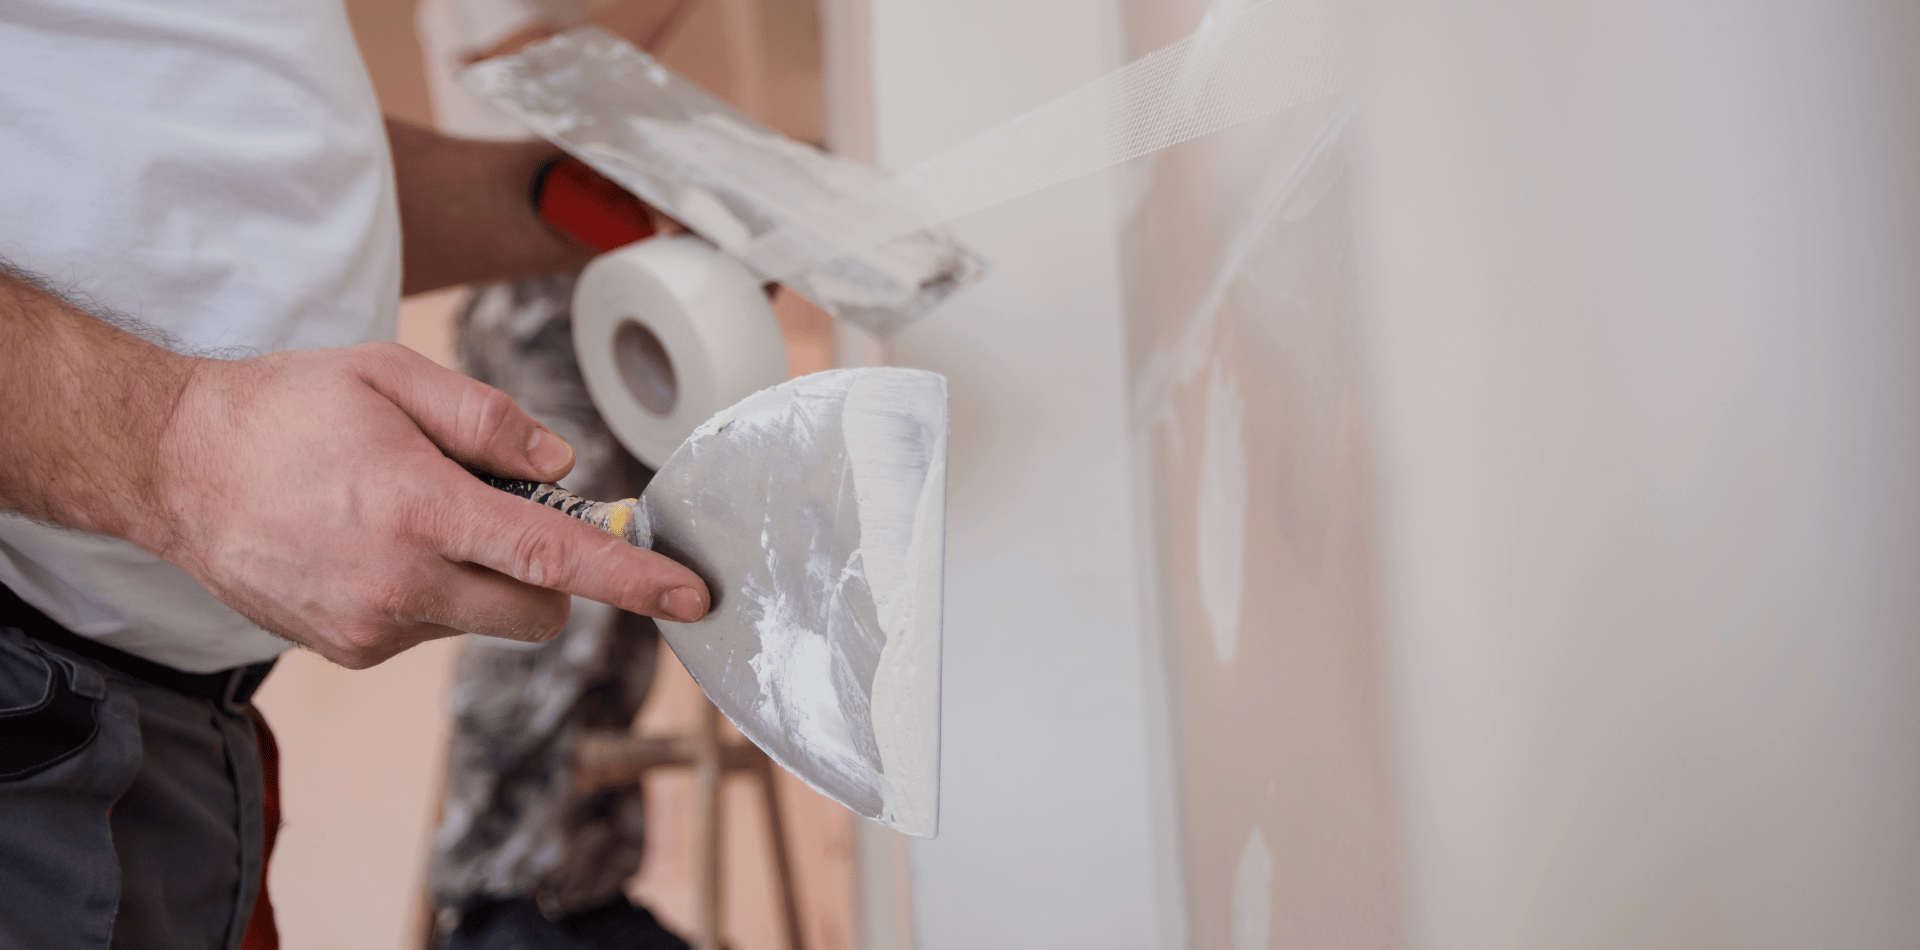
Next, inspect the surfaces for any cracks, holes, or imperfections. Patching and repairing these areas will ensure a smooth and even paint application.
Use a quality filling compound to fill in the holes and sand the patched areas until they are flush with the surrounding surface.
Patching and repairing damaged areas
Priming the surfaces before painting is an essential step in achieving a professional finish.
Primer creates a smooth and uniform surface for the paint to adhere to, ensuring better coverage and durability.
It also helps to seal and hide any stains or previous paint colours.
Choose a primer that is compatible with the type of paint you'll be using and apply it evenly using a brush or roller. Allow the primer to dry completely before applying the paint.
Properly priming the surfaces
Now that your surfaces are prepared and primed, it's time to master the art of applying paint smoothly and evenly.
Start by cutting in, which involves painting the edges and corners of the walls with a brush before using a roller. This technique ensures a clean and professional-looking finish.
When using a roller, apply the paint in a "W" or "N" shape and then fill in the gaps with vertical strokes. This will help to distribute the paint evenly and minimise streaks and roller marks.
Avoid applying too much pressure as it can cause the paint to splatter or leave a textured finish.
Techniques for applying paint smoothly and evenly
During the painting process, you may encounter common challenges such as drips, brush marks, or uneven coverage. Don't worry, these can be easily resolved with a few tricks.
To fix drips, wait for the paint to dry and then gently sand the affected area. Once smooth, touch up with a small brush or roller.
For brush marks, use a high-quality brush and apply the paint in long, smooth strokes. If you notice uneven coverage, apply a second coat once the first coat has dried.

Dealing with common painting challenges
To take your painting project to the next level, consider adding special touches and accents.
For instance, create an accent wall by painting one wall in a different colour or using a decorative technique such as stenciling or faux finishing. This will add depth and visual interest to your space.
You can also consider adding trim or crown molding to enhance the overall look of the room.
Paint them in a complementary colour to create a cohesive and sophisticated appearance.
Adding special touches and accents
Once your painting project is complete, it's essential to clean and maintain the painted surfaces to ensure their longevity.
Regularly dust and wipe down the walls with a soft cloth or a mild detergent solution to remove any dirt or grime. Avoid using abrasive cleaners or scrub brushes as they can damage the paint.
For exterior surfaces, consider pressure washing to remove dirt and debris. Additionally, inspect the painted surfaces periodically for any signs of wear or damage.
Touch up any areas that may have chipped or faded to keep your home looking fresh and well-maintained.
Cleaning and maintaining painted surfaces
Here are a few final tips to ensure a professional finish in your house painting project:
- Work in a well-ventilated area to ensure proper air circulation and quick drying of the paint.
- Use drop cloths or plastic sheets to protect furniture, floors, and fixtures from accidental spills or splatters.
- Take breaks when needed to avoid fatigue and maintain focus on achieving a precise finish.
- Follow the manufacturer's instructions for drying time between coats to ensure optimal results.
- Keep a small amount of touch-up paint for future repairs or touch-ups.
Choosing the right colours is essential to achieving a professional-looking paint job.
Consider the mood you want to create in each room. Cool colours such as blue, green, and purple can make a room feel calm and serene, while warm colours such as red, orange, and yellow can create a cozy and inviting atmosphere.
Another important factor to consider is the lighting in the room.
Natural light and artificial light can affect the way colours appear on the walls. For example, a colour that looks great in natural light may appear different under artificial light. To get a better idea of how a colour will look in different lighting conditions, paint a small swatch on the wall and observe it at different times of the day.
When choosing colours, it's also important to take into account the colour scheme of your furniture and decor.
You don't want your walls to clash with your existing furnishings, so choose colours that complement your decor.
By following these top 10 house painting tips and tricks, you'll be well on your way to achieving a professional finish that will transform your home into a work of art.